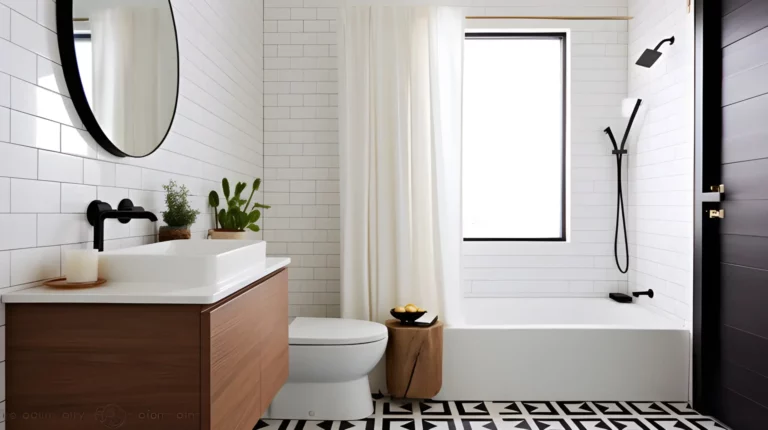
Ultimate Guide: How to Cut a Shower Curtain for a Polished Look in Your Bathroom
Embrace the elegance of a perfectly sized shower curtain that not only enhances your bathroom’s aesthetic but also stands as a defender against mold and mildew. Learning how to cut a shower curtain can transform a simple shower curtain into a custom shower curtain size, promising a tailored, mold-free adornment for your personal oasis. Whether there’s a need to trim the length or adjust the width, mastering this skill will lead to an impressive bathroom upgrade. The process is simple, and the result? A shower space that shines with meticulous detail, thanks to your shower curtain and liner that fit right.
Table of Contents
Key Takeaways for How to Cut a Shower Curtain
- Custom sizes ensure a shower curtain that perfectly fits your space.
- Accurate trimming can prevent mold buildup and maintain a clean bathroom.
- Tailoring your shower curtain enhances the entire appearance of the bathroom.
- A cut-to-size liner ensures efficient water containment within the shower area.
- Understanding the technique provides an opportunity for a simple yet significant bathroom upgrade.
- The process empowers you with a cost-effective way to personalize your bathroom decor.
Materials Needed
To embark on the journey of creating a perfectly tailored shower curtain, first gather the right materials for cutting and measuring. The tools and supplies you choose are pivotal to ensuring precision and ease during the customization process. Below is a detailed breakdown of the essential items you’ll need.
Shower Curtain
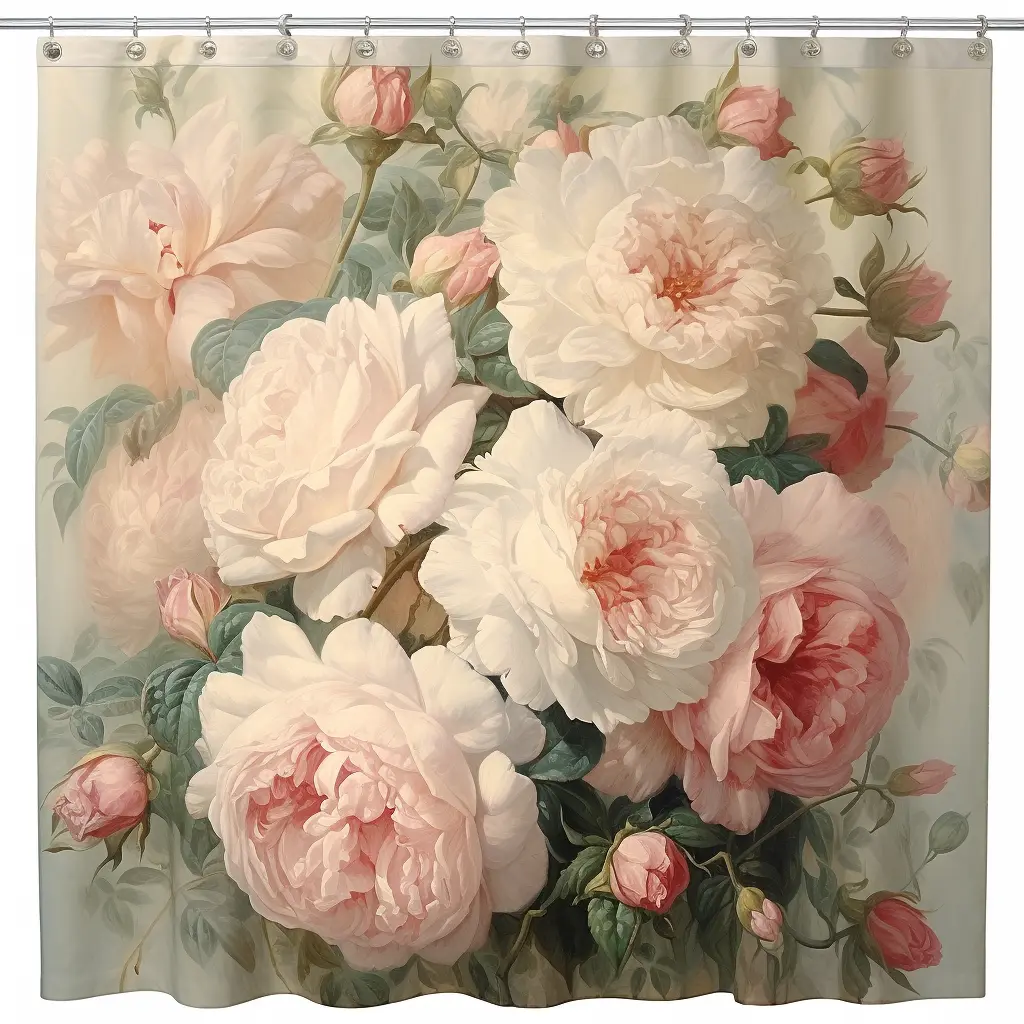
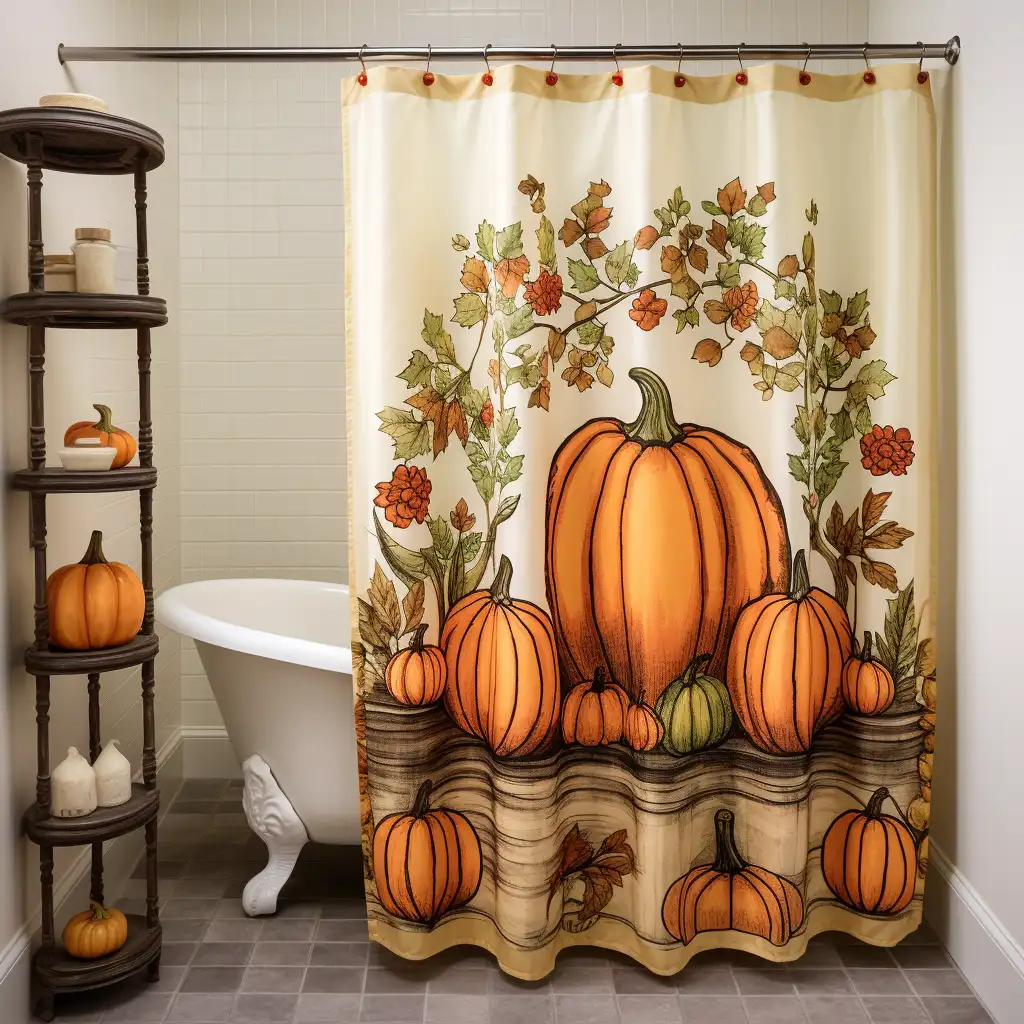
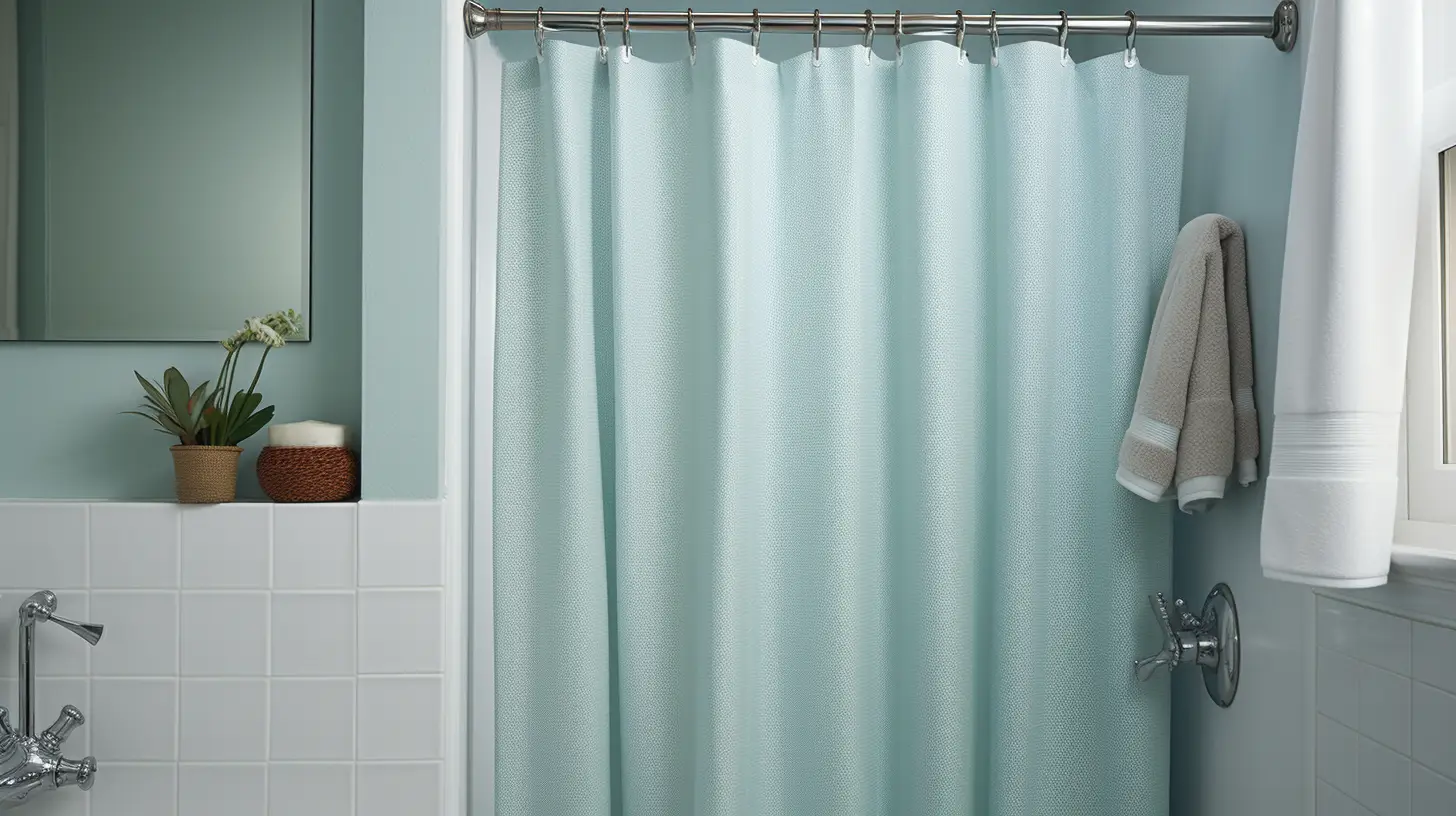
To get started, you’ll need a shower curtain or liner you intend to customize. When selecting your curtain, consider both style and function. Make sure it matches your bathroom decor and is made of a material conducive to cutting.
Marker or Chalk (for marking)
Accurate marking is crucial before making any cuts. Use a marker or chalk to delineate where you will trim the fabric. This step will help you measure and cut with precision, avoiding unnecessary mistakes.
Scissors or a Sharp Cutting Tool
A pair of sharp scissors or a reliable cutting tool is necessary for achieving clean edges. Dull blades can lead to jagged cuts or fraying. They will detract from the quality of your finished curtain. So invest in a quality cutting tool for the best results.
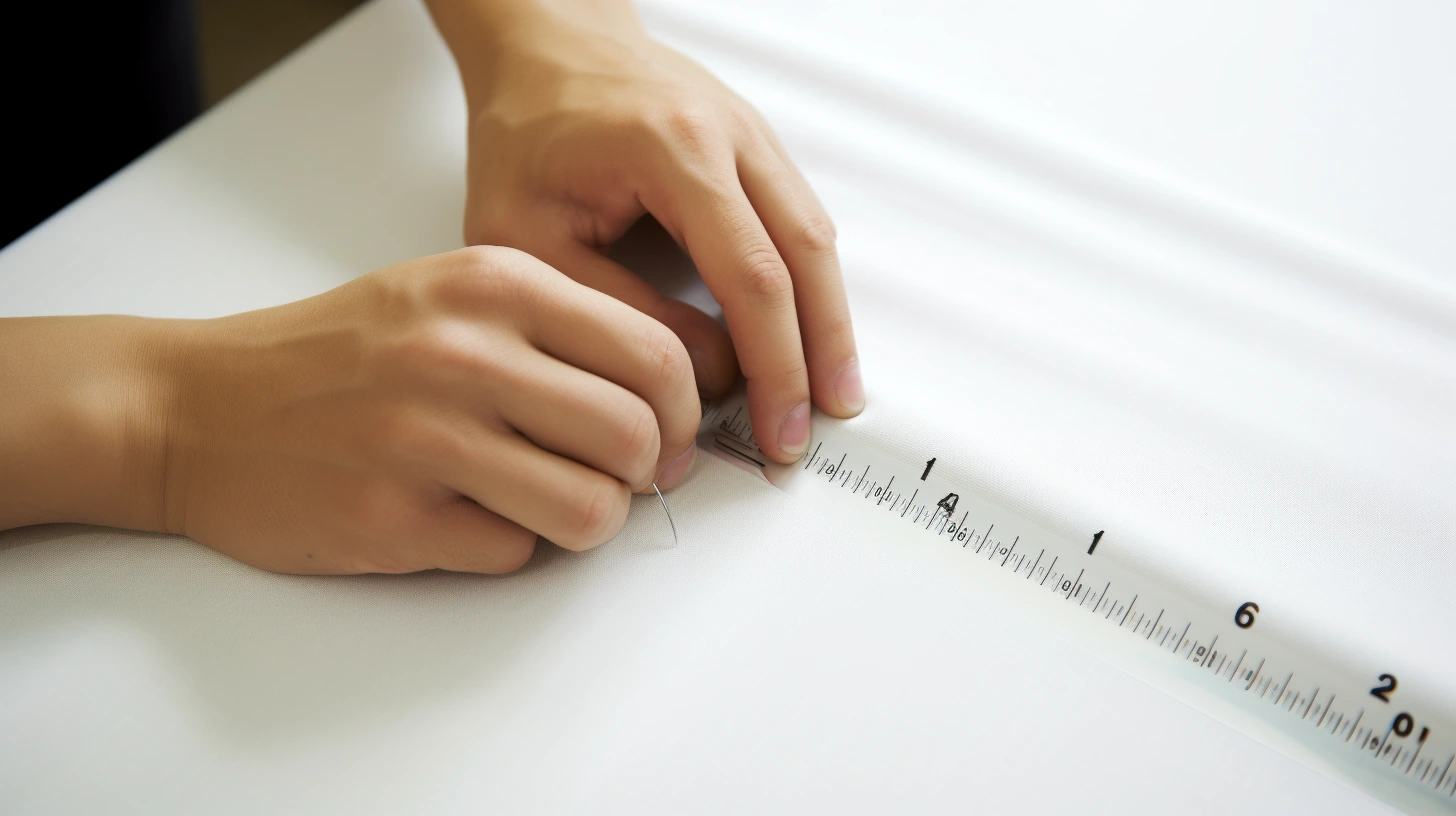
Measuring Tape or Ruler
The last essential tool is a measuring tape or ruler. Precise measurements ensure that the curtain hangs evenly without bunching at the bottom. An accurate measuring device is a non-negotiable item on your materials list.
| Material | Purpose | Notes |
|---|---|---|
| Shower Curtain or Liner | Starting material | Ensure it fits the theme and functionality of your bathroom |
| Marker or Chalk | For precise marking | Choose a color that is visible on the curtain material |
| Sharp Scissors or Cutting Tools | To cut the fabric | Quality tools lead to cleaner cuts |
| Measuring Tape or Ruler | For accurate measurements | Vital for an even hang and proper trim placement |
Preparing to Cut
To upgrade your shower stall with a cut-to-size curtain, begin with careful preparation. Laying the groundwork is a pivotal step in achieving that tailored look for your bathroom.
Measuring the Space
Start by measuring the space where you’ll hang the curtain. This involves not only the height and breadth of the shower stall but also the position of the curtain rod. Accurate measurements are the foundation upon which precision is built. They ensure that your curtain fits and flows gracefully, complementing your shower stall’s outline.
Determining the Desired Length and Width
Your next move entails determining the size of your new shower curtain. Take a moment to consider the desired length and width. They should best suit your shower stall and the look you wish to achieve. It is essential to leave an extra margin if neat ruffles or a specific hang appeal to your desire for a shower upgrade. Positioning your curtain rod can influence the required length of the shower curtain. So factor in any adjustments for a harmonious fit.
Marking the Curtain
Before you can proceed with tailoring your shower curtain for that custom fit, precise marking is essential. It’s the blueprint for the later cutting. So accuracy at this stage ensures a professional result. Lay your shower curtain out flat. Use a marker or chalk for guidance. And then confirm that all your lines are true and even. Let’s dive into the step-by-step procedure to guarantee a perfect mark each time.
Laying the Curtain Flat
To make your measurement accurate, it is vital to lay the curtain flat on a large, stable surface. By smoothing out the panel, you are able to see the full extent of the curtain, which aids in measuring a more precise line. While working, check for any ruffles or bulges on the side of the curtain to maintain an even surface throughout.
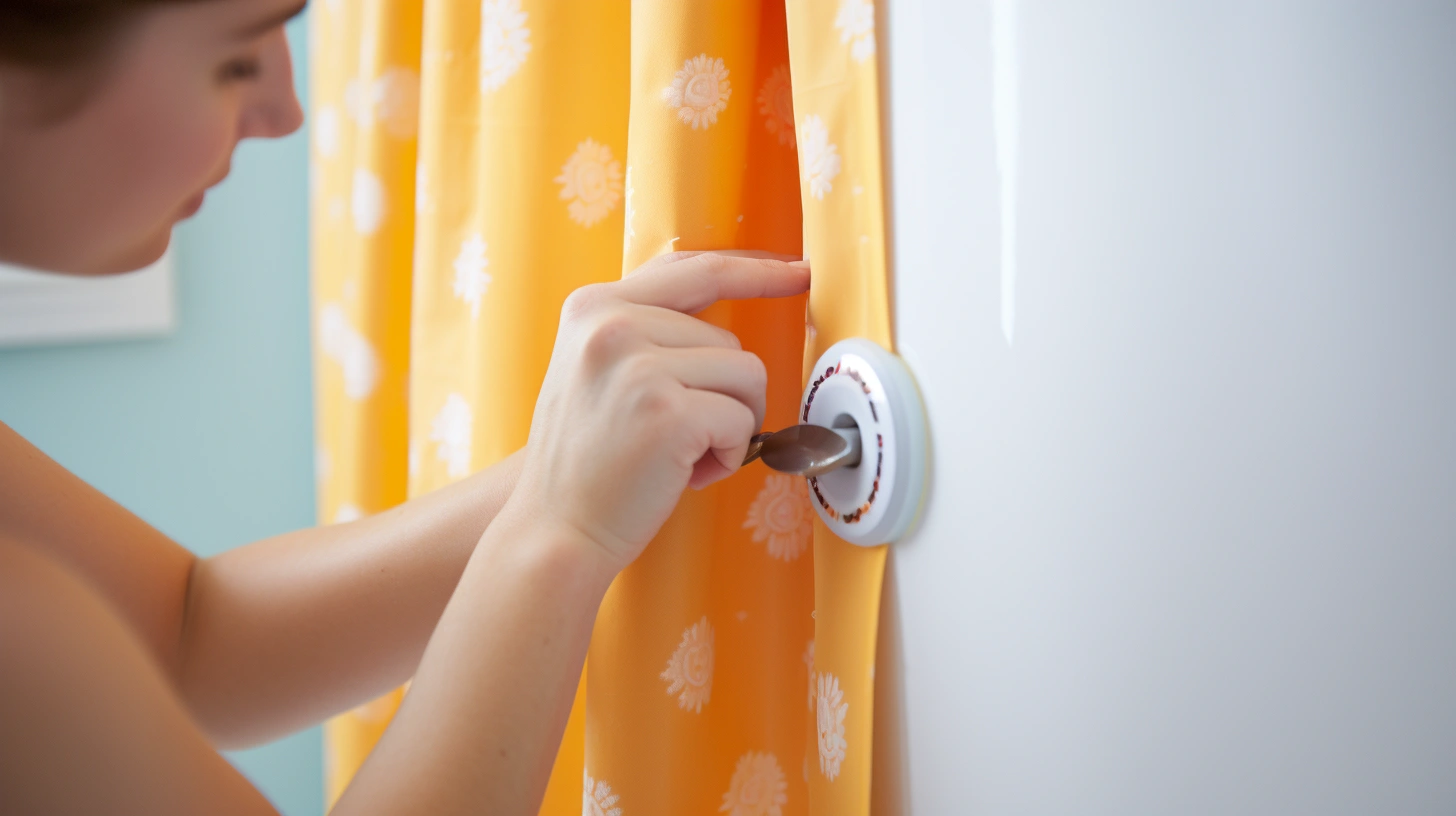
Using a Marker or Chalk to Show Where to Cut
After laying the curtain flat, take your marker or chalk. Measure and mark the exact points where you will be cutting. Use a writing tool that provides clear visibility on the shower curtain material. Do not rush this step. Take your time to align your measuring tool with the top of the curtain. This ensures your markings are straight and in the right place.
Ensuring Lines Are Straight and Even
The key to a professionally looking shower curtain is in the cut, starting with straight line markings. Use a long ruler or a straightedge to guide your marker or chalk. Make sure each line runs parallel to the cut edges. Double-check your measurements before marking. Errors at this point could lead to skewed cuts, which are difficult to rectify once you’ve started cutting.
| Steps | Tools | Tips |
|---|---|---|
| 1. Lay the curtain flat | Larger surface area | Remove all wrinkles |
| 2. Measure curtain dimensions | Measuring tape or ruler | Include additional length for the hem |
| 3. Mark cutting points | Marker or chalk | Use contrasting colors for visibility |
| 4. Draw straight lines | Straightedge or leveled ruler | Ensure edge alignment |
Throughout this marking stage, remember that precision sets the foundation for quality. Take your time to measure twice and mark once. Keep in mind that a well-fitted shower curtain not only looks good but also provides functional benefits.
Cutting the Curtain

With the preparations complete, you’re ready to move from planning to action. Your fabric or vinyl shower curtain is marked and laid out before you. Now, it’s time to make the cuts. Having a perfectly hanging curtain in your tub or shower area is essential for both appearance and functionality. Let’s proceed to the specifics of the cutting process.
Using Sharp Scissors or a Cutting Tool
Selecting the right cutting tool can make all the difference in achieving clean cuts. Whether you’re working with a particular type of material, it is important to use sharp scissors or a specialized cutting tool. Dull blades can lead to jagged edges or even damage the material. Thus, they will compromise the curtain’s appearance and functionality.
Following the Marked Lines
Accuracy is critical at this stage. Align your cutting tool with the marked line you measured and drew. Starting at the top of the curtain, follow through to the marked point at the bottom. If the edge does not come out as straight as you’d hoped, don’t worry. A slight trimming can correct any minor deviations. Remember, cutting straight lines will ensure the curtain hangs neatly and looks professionally tailored.
Maintaining a Steady Hand to Ensure Clean Cuts
Making clean cuts is a testament to your attention to detail and hand steadiness. Vinyl can sometimes bunch or shift. So, secure it with weights or tape if needed to maintain tension. With fabric, ensure it is completely flat against the surface to prevent any puckering. Move slowly and deliberately. Rushing can lead to mistakes that may be difficult to remedy.
| Material | Recommended Cutting Tool | Tips for Straight Cuts |
|---|---|---|
| Fabric Shower Curtains | Sharp fabric scissors | Use a ruler or a straight edge as a guide |
| Vinyl Shower Curtains | Utility knife or craft cutter | Keep the material stretched and flat |
After cutting, inspect the curtain thoroughly. Make any slight adjustments to ensure the hem is even, leaving no excess material. The next steps will involve the finishing touches that make your curtain not only fit perfectly but also look as though it was made just for your bathroom. Good luck!
Finishing Touches

After cutting, it’s time to add the final finishing touches to ensure a professional and durable result. These steps will prevent the fabric from fraying and allow the curtain to hang correctly with the inclusion of the necessary hardware.
Hemming the Edges (if necessary)
If you’ve trimmed the edge of your shower curtain, hemming is an essential step to prevent fraying and give it a clean, tailored look. You have several options, depending on the type of fabric and the tools you have on hand. For instance, if sewing isn’t your forte, using fabric glue for a seamless hem is a viable alternative. Fold the cut edges over, apply the glue, and press firmly to secure. This no-sew hemming method can be as effective as traditional stitches.
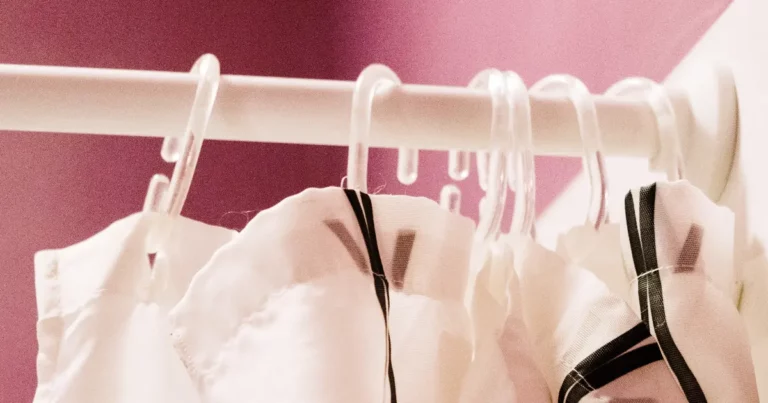
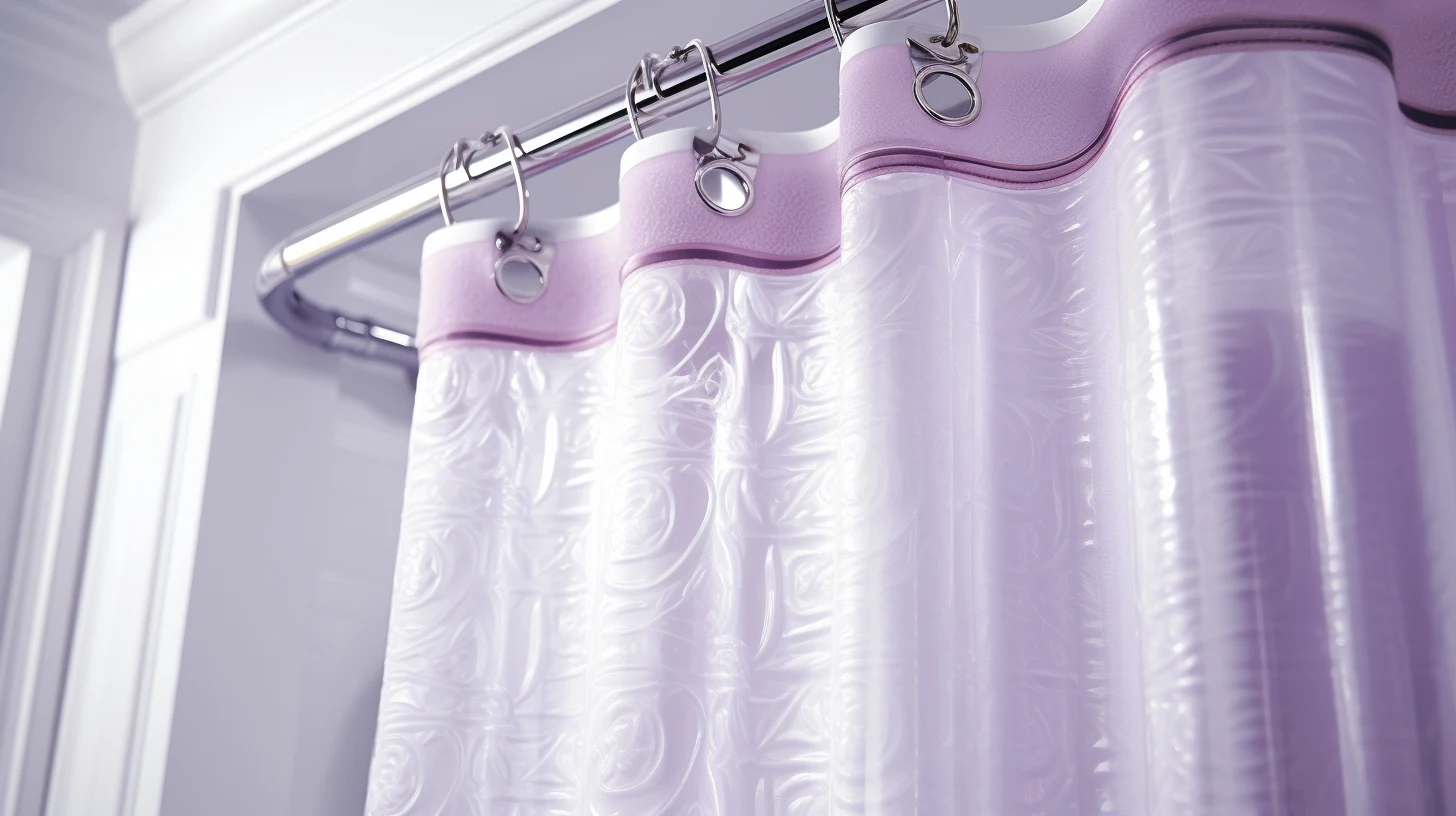
Adding Grommets or Holes for Hooks (if required)
For shower curtains that need grommets, you’ll want to ensure even spacing for an attractive, functional hang. Here’s a quick guide:
| Material | Tool Required | Step-by-Step Process |
|---|---|---|
| Fabric Shower Curtains | Grommet Kit | Mark the positions, cut holes, place grommet halves, and secure them with a grommet tool. |
| Vinyl or Plastic Curtains | Hole Punch/Cutter | Mark the locations, punch holes, and reinforce with clear tape if necessary. |
Adding grommets not only adds to the functionality of the curtain but also enhances its aesthetic appeal, especially when using stylish shower curtain rings.
Tips for Avoiding Fraying
Preventing your fresh-cut edges from fraying is crucial for a long-lasting shower curtain. Here are some useful tips:
- For fabric curtains, use a fray check solution along the cut edges, which acts as a sealant.
- Consider serge stitching the edges if you can access a serger. This is a robust way to avoid fraying.
- If none of these options are available, try heat-sealing the frayed edges with a lighter or heat tool. This is suitable for synthetic fabrics.
By adding these finishing touches, you can make your shower curtain last longer while also giving it a more professional appearance. Give attention to the hem. Add grommets or holes for hooks methodically. Take measures to guard against any fraying. With these final steps, your bathroom will boast a shower curtain that’s both functional and stylish.
Installation
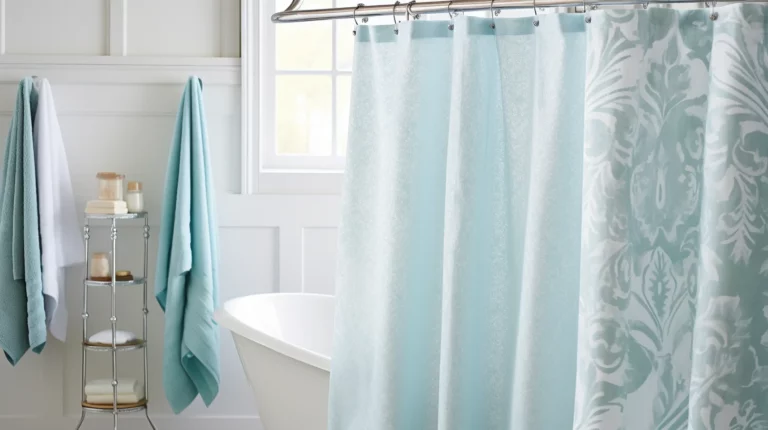
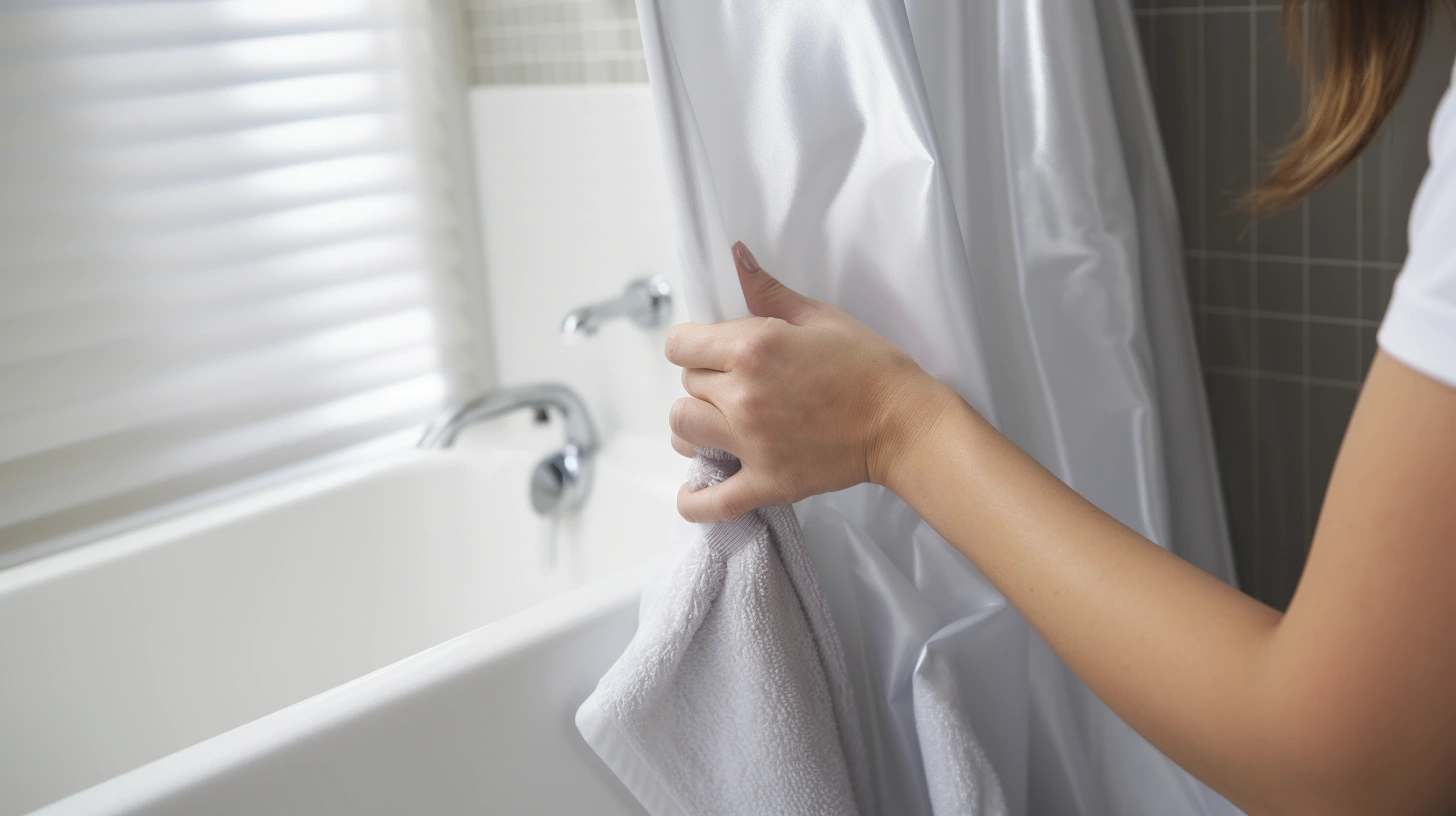
Embarking on a shower curtain installation can breathe new life into your bathroom. With your shower curtain rod securely in place, begin by attaching the rings, ensuring they are evenly spaced. Slide your upgraded shower curtain panel onto each ring, and if you have a liner, hang it concurrently. The dual layers will provide both practicality and enhanced decor.
Occasionally, you may find that you need to adjust the rod height to accommodate the new length of your trimmed curtain. If the curtain grazes the floor, raise the rod slightly for an elegant hang. On the other hand, if the curtain hangs too high, lower the rod to prevent any unwanted bathroom puddles. An ideal position allows just enough clearance to prevent mold while maintaining water containment.
Finessing the alignment of the liner and decor curtain is key. Adjust them so that they sit flush with each other at the hem. After carefully hanging and aligning the curtain and liner, trimming and hemming pay off to give you a panel that perfectly suits your space and style. Pat yourself on the back. Your DIY skills have led to a tangible upgrade in your home’s aesthetics and functionality.
Maintenance Tips
Investing effort in shower curtain maintenance can prolong its crisp appearance and functional integrity. After customizing your curtain to the desired size, it is crucial to follow proper cleaning procedures, especially for the cut edges, to prevent mold and mildew growth.
Cleaning the Cut Edges
Cleaning the precision-cut edges of your shower curtain is a critical step in curtain care. Use a gentle yet effective cleaner to remove any accumulation of moisture and soap scum that could potentially foster mildew. For fabric curtains, regularly wash them in your washing machine on a gentle cycle with mild detergent to maintain a fresh look. For vinyl, a damp cloth with a mixture of baking soda and water will work wonders in maintaining a mold-free barrier.
Routine Care for the Curtain
To keep your entire shower curtain looking as good as new, incorporating routine care practices is key. Firstly, after each use, spread out the curtain to dry fully. A damp environment is a breeding ground for unsightly mold. Check for any excess material that might harbor unwanted moisture and trim it away. Lastly, use a daily shower spray to repel water and soap residue. Doing so can reduce the need for frequent, deep cleans. By consistently applying these shower curtain maintenance strategies, your bathroom will continue to shine with its tailored elegance.
Conclusion
By now, you’ve learned that cutting a shower curtain and a shower liner is a manageable task. It not only provides an exact fit for your space but also contributes to a mold-free bathroom. This seemingly small alteration helps eliminate excess material that could otherwise collect moisture and lead to mildew. The steps above are straightforward and yield a tailored look that can upgrade your bathroom decor.
So, take out those tools and get ready to transform your bathroom with a custom touch that’s uniquely yours.
FAQs
Why should I cut my shower curtain?
Cutting your shower curtain can prevent mold and mildew buildup by avoiding excess fabric that bunches at the bottom of the curtain. It also ensures that your shower curtain fits perfectly. It can provide a polished aesthetic to your bathroom decor.
How do I measure my shower space before cutting?
Measure the height and width of the area where the shower curtain will hang, accounting for the curtain rod’s placement. Consider any additional length needed for hems or decorative elements.
Do I need to hem the cut edges of my shower curtain?
Hemming the cut edges can prevent fraying and extend the curtain’s life. It’s especially important for fabric shower curtains. If you cut a vinyl curtain, ensure the edges are smooth to prevent injury or damage to the liner.
Are there any special care instructions for a cut shower curtain?
Clean the cut edges carefully to prevent fraying. Maintain a regular cleaning routine for mold and mildew prevention. Ensure the curtain is fully extended after a shower to allow it to dry promptly.